As humans, we like visual input. In fact, it’s fair to say we crave visuals to inspire, explain and entertain us. A hard piece of evidence that shows just how much we love visual information is the exponential growth of Pinterest. It’s perhaps the simplest yet most effective use of visual snippets that also is easily shared. Communicating with images just makes things easier to interpret because it provides so much context.
Within companies, there should be more importance placed on giving employees better tools to take screen captures so that they can support and give context to their written communication. Many of us have become reliant on systems like Windows screen capture process that make it inefficient and hard to share screen captures at work. We haven’t been able to leverage the true impact visuals can have to improve our workplace communication. Luckily, we now have more options than just Windows screen capture and you don’t have to waste valuable time and energy on old methodology. Let’s compare the the old school to the new school way of screen capturing.
Windows Screen Capture – Step by Step

- Use the Print Screen button to capture. It’s some form of Alt Prt Scn or Ctrl Prt Sc. If you have Windows 7 you’ll have access to the Snipping Tool. In which case, you’ll have to open the Snipping Tool, choose the kind of snip you wish to take, then select the area you wish to snip. Once it’s been “snipped” proceed to steps 5 to 9.
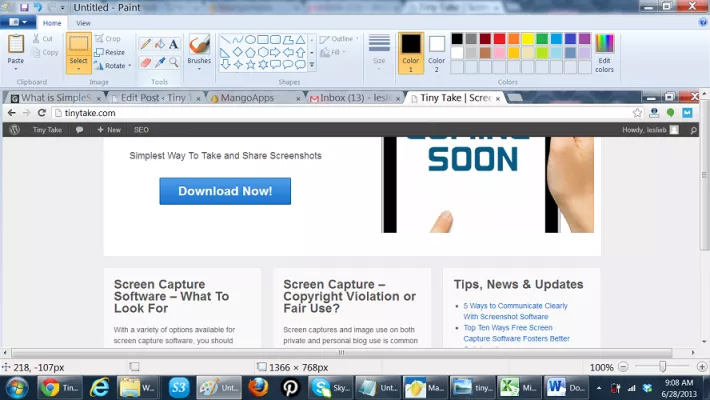
- Open up Paint for editing
- Paste into Paint
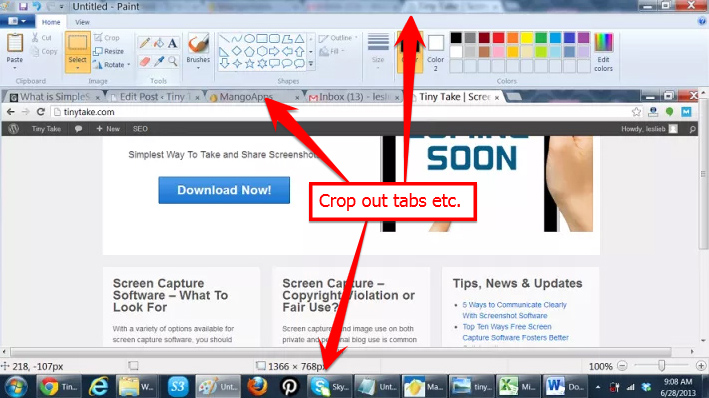
- Crop, remove unnecessary background images, add text and annotations
- Save edited capture locally
- Upload to facebook, flickr, dropbox etc. to create shareable file link
- Get URL for the capture- this can take 2 to 6 clicks depending on your storage program used
- Paste link in email, IM, etc.to share with colleagues
Nine steps (more if you count how many it might take you to get the actual link for the screen capture). Eight steps that take time to execute. Yet this what most of us are equipped to use right out of the box on our PCs. Using this method you have to get familiar with other editing software like Paint just to make your captures useful. You also have to use a file storage database like Dropbox to keep all your captures accessible. It’s a disjointed process that takes time and doesn’t make it very easy to share screen captures. If you are looking to use screen captures to create clearer communication for better collaboration, this protocol is clunky and clumsy.
Mango Recorder Screen Capture – Step by Step
- Capture. You can designate hotkeys for region and full screen/window capture.
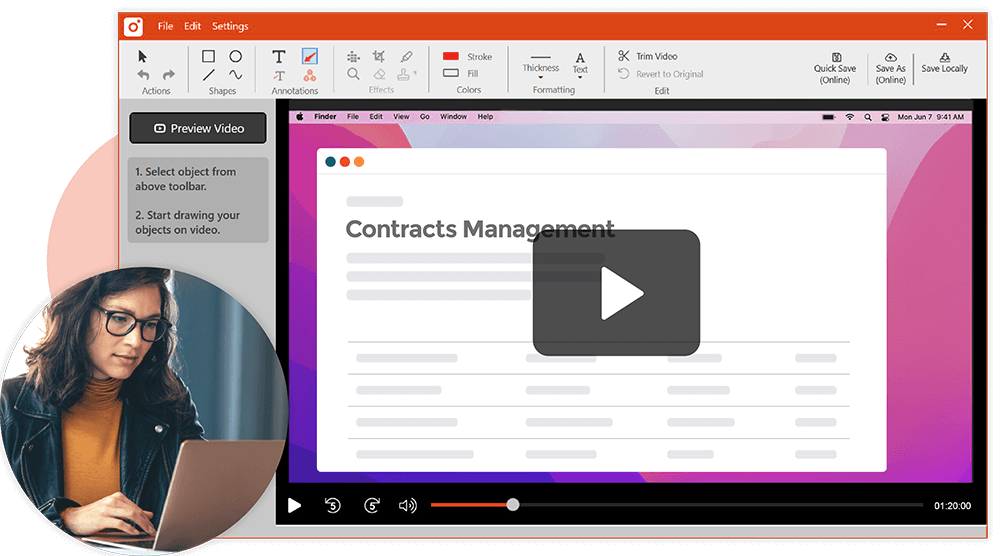
- Add Annotations. You don’t have to paste your capture into any additional editing software. You can create callouts, add shapes and text all from the capture interface toolbar.
- Share. 1 click and you can upload the link to or copy to your clipboard. Your captures can easily be emailed, copied, uploaded to your MangoApps account, or even printed right from the same image window you edit in. You have a shareable link in 3 easy steps.

Three steps versus eight steps. Though it adds up to minutes saved initially, those minutes saved accumulate into hours by when used frequently. It’s clear that using MangoApps Recorder screen capture software is highly more efficient than using Windows screen capture tools. It’s also extremely cost effective because it’s free to download. Another bonus, you don’t have to use third party image storage. You get 1 GB per user with a free basic account. If you upgrade account, you get even more storage with MangoApps suite. With Mango Recorder, everything is in one place, it’s easily shared and you don’t have to mess with any other software components. You get all these features for free and that fits every company’s budget.
Capture. Annotate. Share. See how MangoApps Recorder free screen capture software impacts your visual communication at work.


